Understanding The Difference Between kVp and mAs
What are KVp and MAs?
To understand the difference between those two, you should first know that kilovolts (kV) and mAs are the two primary controls that we have with an X-Ray tube. They control the amount of radiation and the quality of the radiation beam or the X-ray beam.
In this week’s video, Eric from Olympic Health Physics talks about the difference between kilovolts (kV) and mAs and how each can be used because sometimes these two terms can be confused with each other.
What Does an X-Ray Tube Look Like?
The components that we’re going to be talking about with our X-Ray tube, in particular with kV and mAs is going to be the Heated Filament, the Anode which rotates around an axle or spindle and the Evacuated Chamber, which is where X-Ray production will take place.

Charges: Basic Electrostatic Force
Before we get too far into the operation of the X-Ray tube itself, let’s talk a little bit about charges

- If we have two positive charges, they will repel from each other.
- If we have two negative charges, they will also repel from each other as we see here.
- If we have two opposite charges, they’re going to be attracted towards each other.
The Anode And Cathode In an X-Ray Tube
If we apply those previous charges to the anode and cathode in an X-Ray tube, the cathode is held at a negative charge and the anode is held at a positive charge. When we put an electron in between the two, that electron is going to be attracted to or pulled towards the anode by the anode because an electron carries a negative charge.
In conclusion, that electron is going to be pulled towards the anode and at the same time it’s being pulled towards the anode by the positive charges. It’s going to be pushed by the cathode because the negative charges on the cathode are going to repel or push the electron towards the anode.
The X-Ray Tube And The Heated Filament
In our X-Ray tube, the heated filament is going to boil off electrons.

The electrons are going to be created. If the filament is held at a negative charge and our anode is held out of a positive charge, the electrons will flow from the cathode towards the anode. Once they strike the anode, they will create X-Rays.
We’re not really going into the formation of X-Rays and how they are formed, except to say that the interaction of the electrons with the anode will create two kinds of X-Rays.
How kVp is produced?
To understand how kVp is produced you should first know that within the X-Ray tube we can apply a potential difference. This is a voltage difference between the cathode or the filament and the anode. This is where we create a potential difference.
The bigger the voltage difference is or the stronger positive charge that we have on the anode, the stronger negative charge that we have on the cathode.
The electrons will traverse the gap at a much higher rate. The velocity that the electrons accelerate across the gap of the chamber will be higher and higher as we increase the voltage of the tube.
So that’s the voltage you’re seeing in the image above. If we have higher and higher energy electrons hitting the anode, the resultant X-Rays will also be higher energy. With higher energy of those, we end up with more penetrating power or the ability for the X-Rays to penetrate thicker and more dense body parts.
In conclusion, the voltage difference between the cathode and the anode is kVp.
As we increase the kVp or the voltage difference, we increase the speed at which the electrons traverse the chamber. They impact the anode at a higher and higher energy and create higher energy X-Rays.
If we decrease the voltage, then we will see a decrease in the energy of X-Rays and the X-Rays become less penetrating.
mAs: Introduction
mAs is milliamps seconds. It’s going to be directly proportional to the number of electrons that come off of the filament and are accelerated across the gap.
What exactly does that look like?

We have an X-Ray tube and we have a cathode. The electrons are moving across the tube towards the anode. It will produce a certain number of X-Rays with a certain number of electrons. If we increase the mAs, we increase the number of electrons and the number of X-Ray formed.
Remember that’s kVp, but we’ll increase the actual number of electrons and that’s going to increase the number of X-Rays.
So mAs is a control that’s directly proportional to radiation dose. If we double the mAs, then we’re going to double the radiation dose to the patient.
What is mAs?
As was mentioned before, mAs is milliamp hour times seconds or times time. We can get rid of the “m” part and what we’re left with is just amps and seconds.

What is an Amp?
An amp is just a Coulomb per second.
What's a Coulomb?
A Coulomb is a unit of charge and electrons carry charge. If we have our amps times seconds, that’s really just coulombs per second time because the seconds cancel out and we’re left with just Coulombs.
Coulombs is a unit of charge and that’s going to be proportional to the number of electrons, which is going to be proportional to the number of X-Rays.
So this is how we go from mAs (milliamp seconds) to the number of X-Rays.
X-Ray Tube: Elements Explanation

Heated Filament
This is where the electrons come off and are accelerated towards the anode over this gap.
The Anode
The anode is going to be held at a positive charge and the voltage difference between the negative cathode and the positively charged anode. The higher that voltage difference is between these two, the faster the electrons will move from the cathode towards the anode and the higher energy the X-Rays will be that we produce.
And if we increase the mAs, it’s going to be increasing the number of electrons that come off of the cathode and are accelerated towards the anode, increasing the number of X-Rays that are generated.
kVp and mAs
kVp will control the penetrating power of your X-Ray beam or how energetic the X-Rays are and mAs will control the number of X-Rays.
It is important to remember that If we increase the kVp or we increase the mAs, we’re going to see an increase in radiation dose.
With increases in mAs, we’ll see better image quality in general. A better image quality because we’ll have less noise in the image. However, we want to weigh or balance the amount of mAs or radiation dose that we give against the resultant image quality
How Much Image Quality Do We Need?
We don’t want to just use as much mAs as possible. We want to be judicious with it because it does contribute to the radiation dose of the patient.
Finally that was pretty much all you needed to know about the differences between kVp and mAs.
If you have any questions for us, feel free to drop them in the comments below and let us know how we can help.

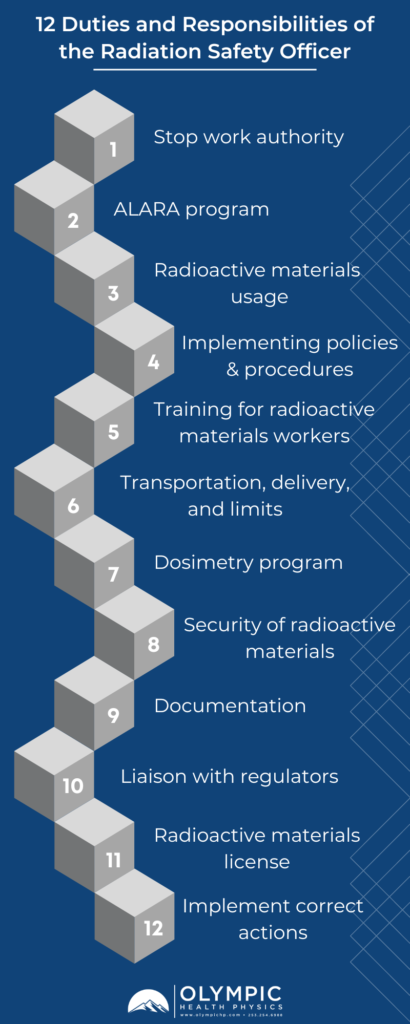
Our team is dedicated to ensuring that your facilities’ radiation safety program functions in accordance to regulatory standards, sound radiation safety principles, and most importantly serves to protect staff, patients, and the general public from the hazards associated with ionizing radiation. To this end, Olympic Health Physics can provide a physicist to your organization to fulfill the Duties of the Radiation Safety Officer. To learn more, check out our RSO Services or click the link below.